Pro Tools is one of the most popular digital audio workstations used by music producers, engineers, and artists. When delivering a Pro Tools session to a Monument Sound, it’s essential to properly label the tracks and consolidate the session to make sure all tracks are the same length and relevant effects are printed. In this news update, we’ll guide you through the proper labeling of Pro Tools sessions to ensure smooth collaboration with the mix engineer.
- Naming tracks: The first step in labeling a Pro Tools session is naming the tracks appropriately. It’s essential to give each track a descriptive name that reflects the instrument or sound it represents. For instance, if you have a drum kit, name the tracks “Kick In,” “Kick Out,” “Snare T,” “Snare B,” “Hi-Hat,” “Tom 1,” “Tom 2,” “Floor Tom,” “Overheads,” “Room,” etc. If you’re recording a band, you can name the tracks after the respective instruments, such as “Lead Vocal,” “Backing Vocal,” “Guitar 1,” “Guitar 2,” “Bass,” and so on. The more descriptive and consistent you are with naming, the easier it is for the mix engineer to navigate the session.
- Consolidating the session: Consolidating the session involves making sure all the tracks are the same length and printed with any relevant effects. This step is crucial in ensuring that the mix engineer gets the best possible mix of your song. To consolidate a session, follow these steps:
- Make sure all your tracks start at the same time (i.e., 0:00:00). You can achieve this by selecting all tracks and dragging them to the start point of the session.
- Trim any unnecessary silence or blank space at the beginning or end of each track.
- Check if there are any muted or hidden tracks that you want to include in the final mix.
- Print any relevant effects on each track. This includes plugins like EQ, compression, reverb, or delay. To print effects, solo the track you want to print, select the track’s output, and create a new audio track as the input. Then record-enable the new audio track and hit record to print the effect.
- Proper industry standard labeling: Industry standard labeling ensures consistency and ease of use for the mix engineer. When labeling your Pro Tools session, use the following guidelines:
- Use uppercase letters for track names.
- Use underscores instead of spaces.
- Use the instrument or sound name as the first word in the track name.
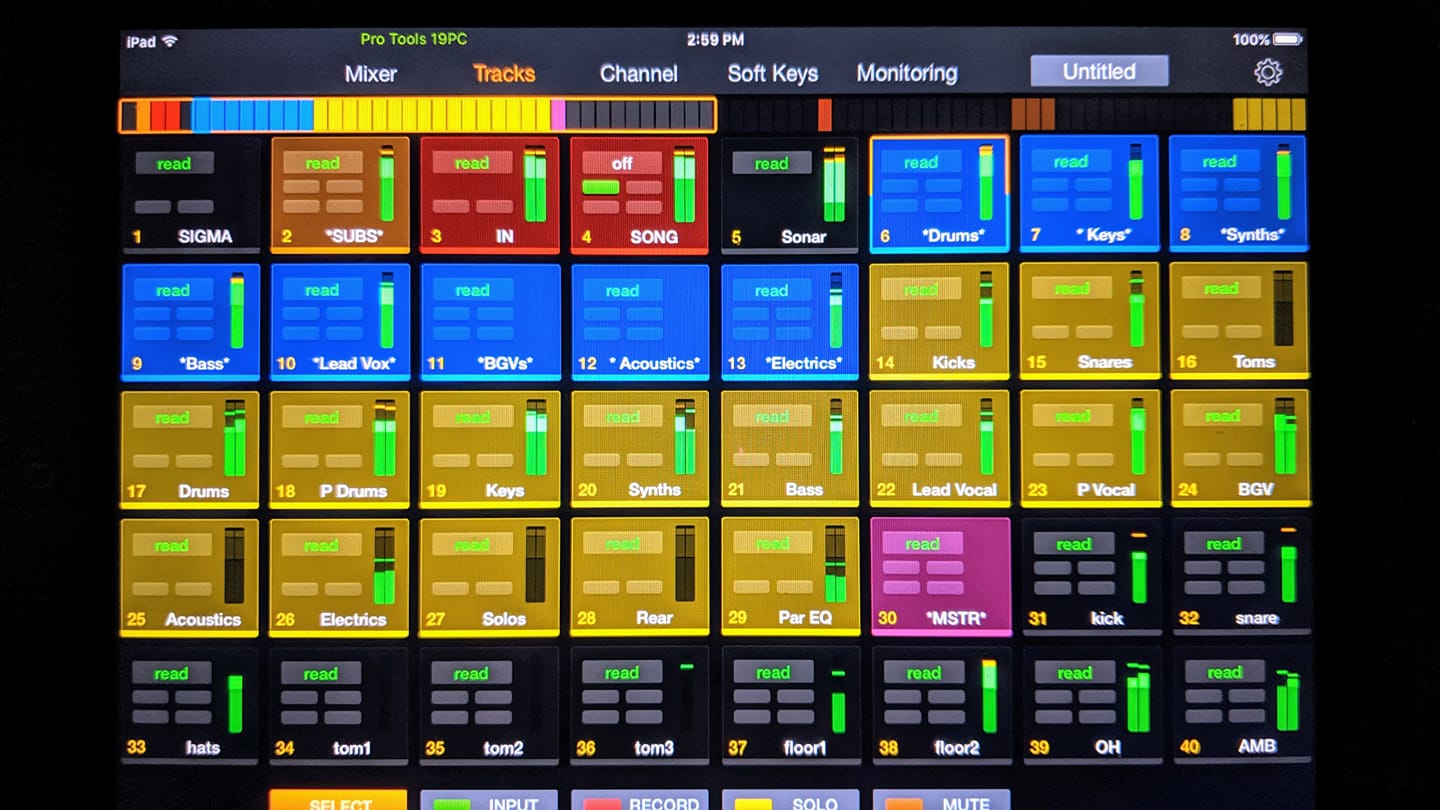
- Use color coding to group related tracks together (e.g., all drums tracks can be blue, all vocal tracks can be green).
- Include the session’s tempo in the session name (e.g., “Song Title_120bpm”).
- Create a mix sheet if necessary with song information that can be delivered as a package.
Properly labeling a Pro Tools session is crucial when delivering it to your mix engineer. Naming tracks descriptively, consolidating the session, and following industry-standard labeling guidelines will make it easier for the mix engineer to navigate and mix your session.

In addition to labeling a Pro Tools session for delivery to Monument Sound, you may also have the option to send the entire session file or just the stems. If you choose to send the session file, it’s essential to consolidate the session and follow the labeling guidelines mentioned earlier. However, if you choose to send stems, here’s how to export them for easy import into the mix engineer’s Pro Tools template:
- Create a new session: Start by creating a new Pro Tools session and import the consolidated audio files you created earlier. Make sure they all start at the same time, trim any unnecessary silence, and arrange them in the same order as the original session.
- Group tracks: Group tracks that belong to the same instrument or sound, such as drums, guitars, or vocals. This will make it easier to export stems later.
- Export stems: To export stems, go to the “File” menu and choose “Export.” Then select “Selected Tracks” and choose the stem format you want to export. It’s recommended to export in WAV format with a sample rate of session (48k 24bit or higher)
For example, if you want to export the drums stem, solo all the drum tracks and group them together. Then, export the grouped tracks as a single file named “Drums_Stem.wav.” Repeat the process for each stem, such as “Vocals_Stem.wav,” “Guitars_Stem.wav,” and so on.
- Label stems: Label each stem with the instrument or sound name, followed by the stem name, such as “Drums_Stem,” “Vocals_Stem,” and so on. It’s also helpful to include the song title and tempo in the stem name.
- Deliver stems: Once you’ve exported and labeled all the stems, compress them into a ZIP file and send them to the mix engineer. It’s essential to include a track listing document that details which stem corresponds to which track in the original session. This will make it easier for the mix engineer to import and organize the stems in their Pro Tools template.
Sending stems is a popular way of delivering a Pro Tools session to a mix engineer. By following the steps above, you can export stems and label them properly to ensure they can be easily imported into our Pro Tools template. Alternatively, if you choose to send the entire session file, make sure you consolidate the session and follow the proper labeling guidelines. If you have any further questions please feel free to contact us for clarification.
Related posts

Recording Studio Rockstars Podcast Edition
Music’s Too Fun Not to Have Fun Making It I recently had the pleasure of joining Lij Shaw on the Recording Studio Rockstars podcast to share my journey …

CITRA – Papercuts (Stereo, ATMOS and VIDEO)
First off, Congrats to Denver based “ CITRA ” for their new single released today (May 31, 2024) of “ Papercuts .” I have to say …